There are 3 ways that ScoreCEO have leads added into the system:
Manually
Through Link Invitation (Under Referral Menu)
Adding a Form Snippet (HTML Code / Web Form) to a website
When you Manually Entered a Lead into the system you have to visit the Leads/Consumer Menu to the left of your portal (see image below)
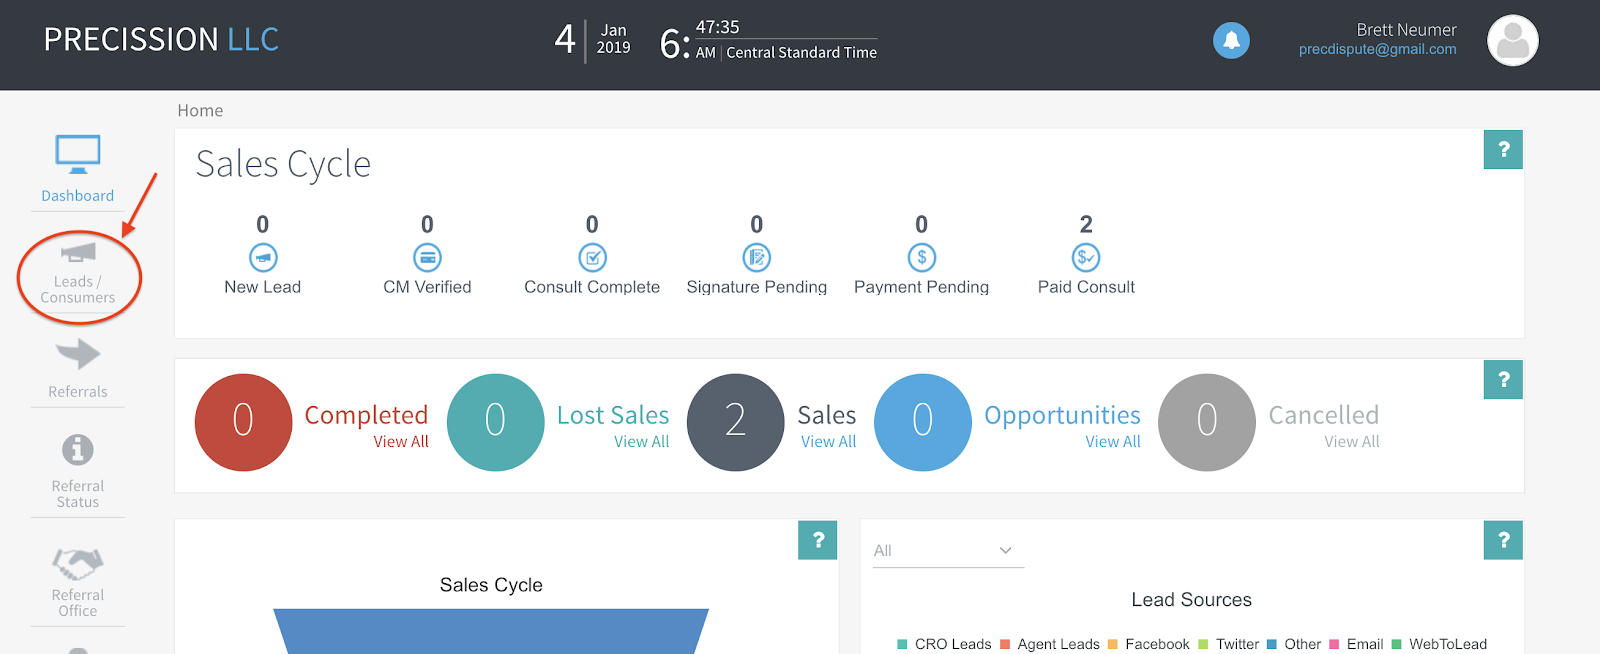
Once you are inside of Leads/Consumers you will click on Create New Button (see image below)

Once you click on Create New the General Information area will open to enter your lead information (see image below) *The Script area can be updated under Workflow Settings>Edit>Script*
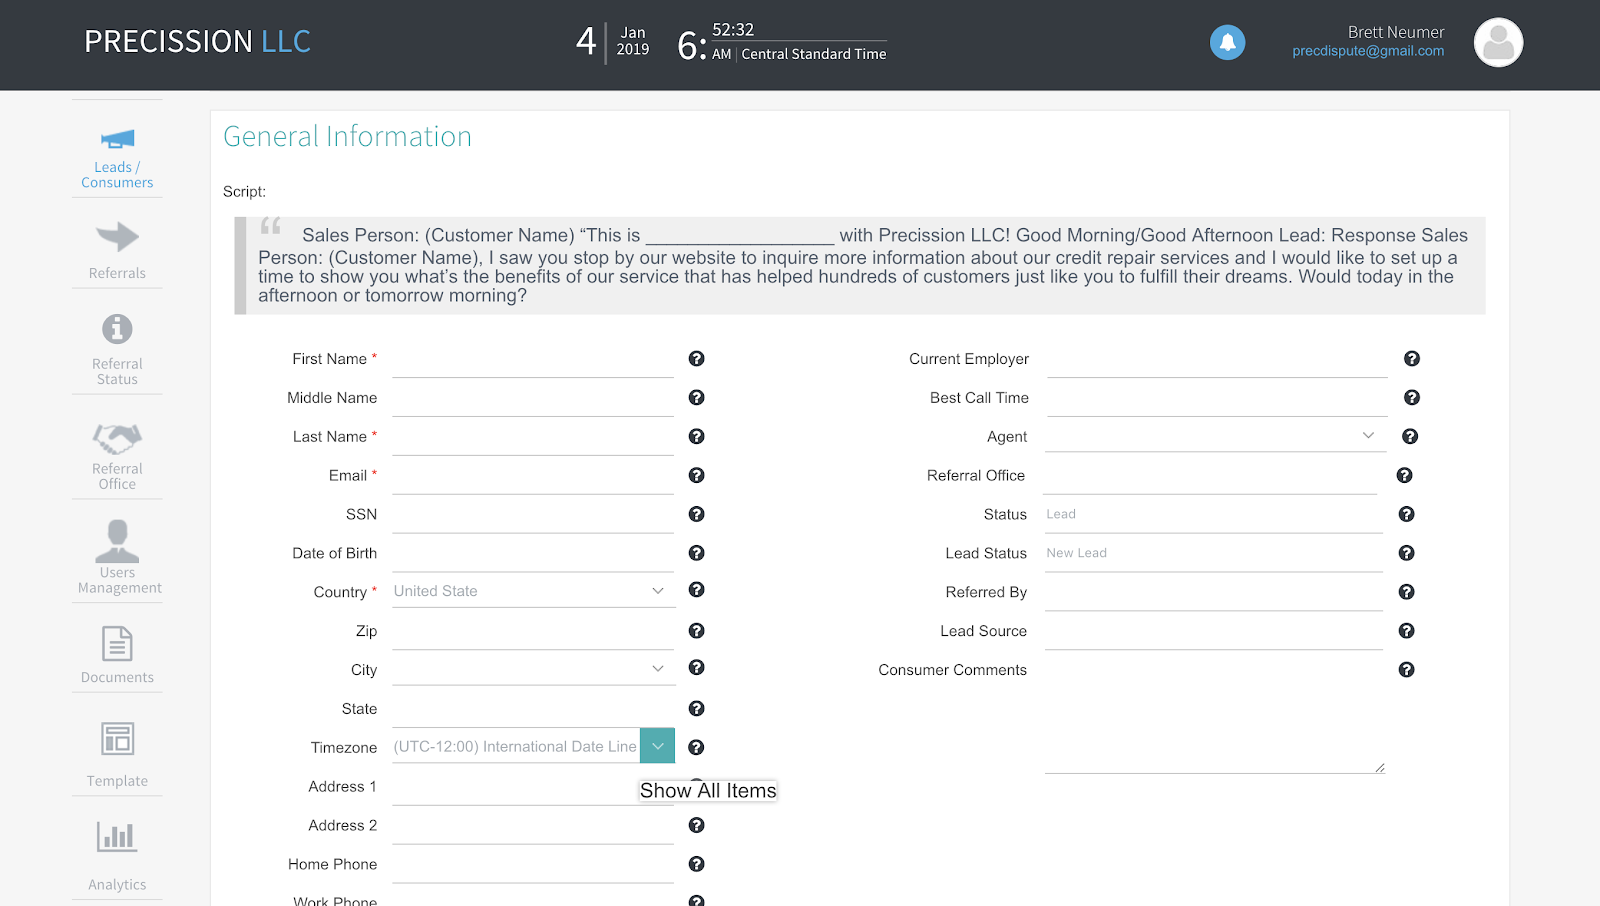
Depending on the size of your monitor, after you enter your lead General Information, scroll down and click Save to the bottom right side of the browser.

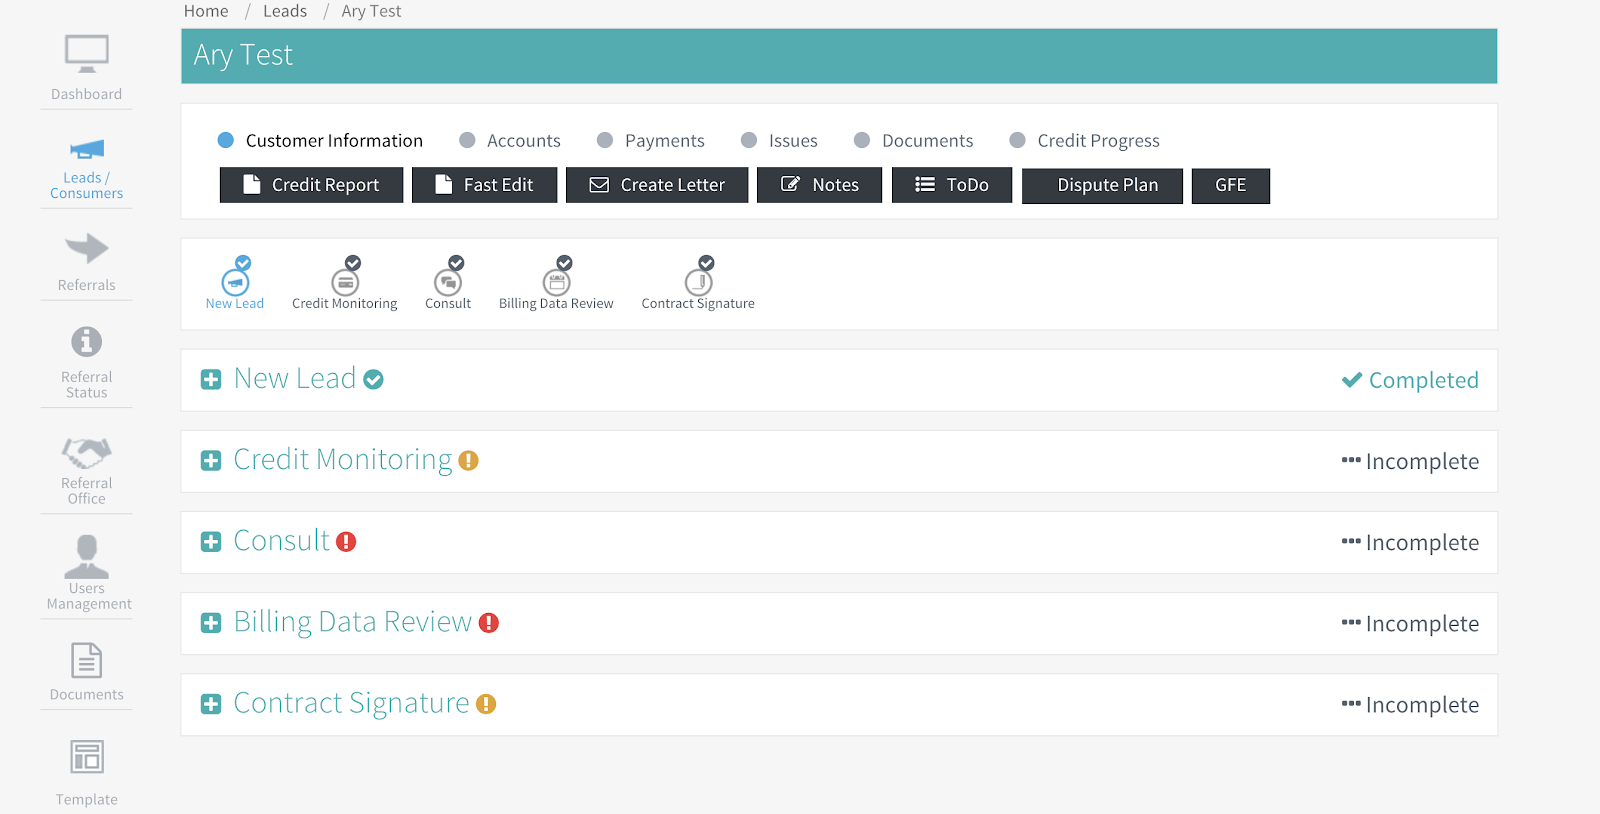
Once you click on Save the Workflow Process will open (see image below)
2nd step: Credit Monitoring
A recommendation to help your process and your lead is to have your lead subscribe to a Credit Monitoring System (2nd step in the Workflow Process. See image below). This will prevent delays on the process to verify results (it eliminates the time between a Credit Bureau response and the snail mail delivery, plus the time that your customer will send/deliver the reports to you. Remember the only way to know the actual results of a dispute is by looking at the updated reports.)
Benefits of Credit Monitoring:
Stay on top of your credit file every 30-35 days
Most CM provide Identity Theft Insurance (the highest growing crime in the US)
By staying on top of their credit file they can identify any account/inquiry that might be a result of identity theft
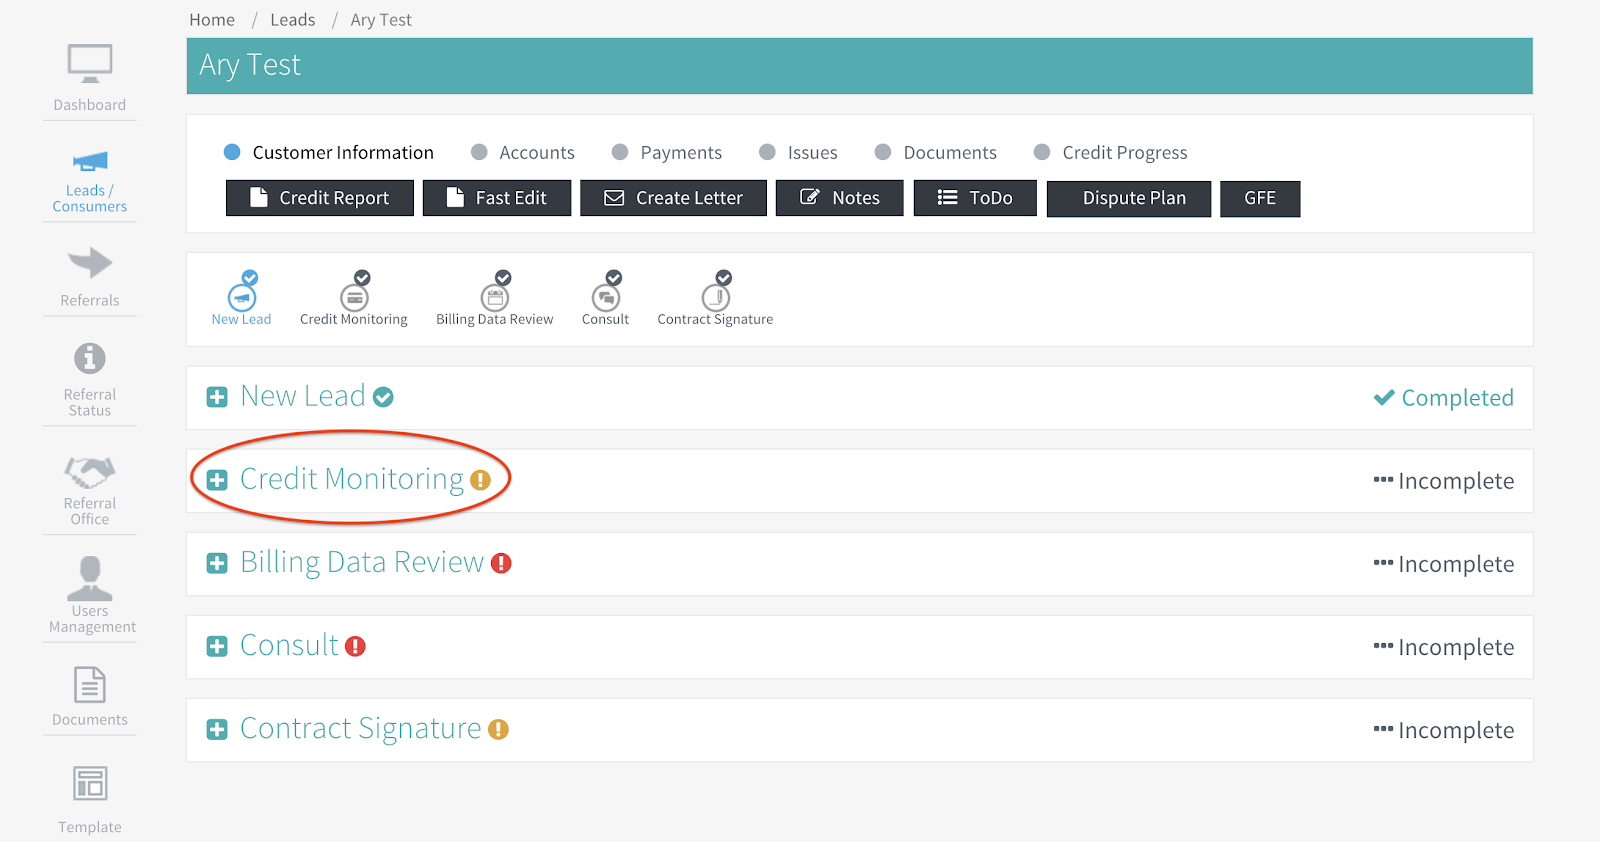
When you click on the plus sign next to credit monitoring the options on the image below will open:
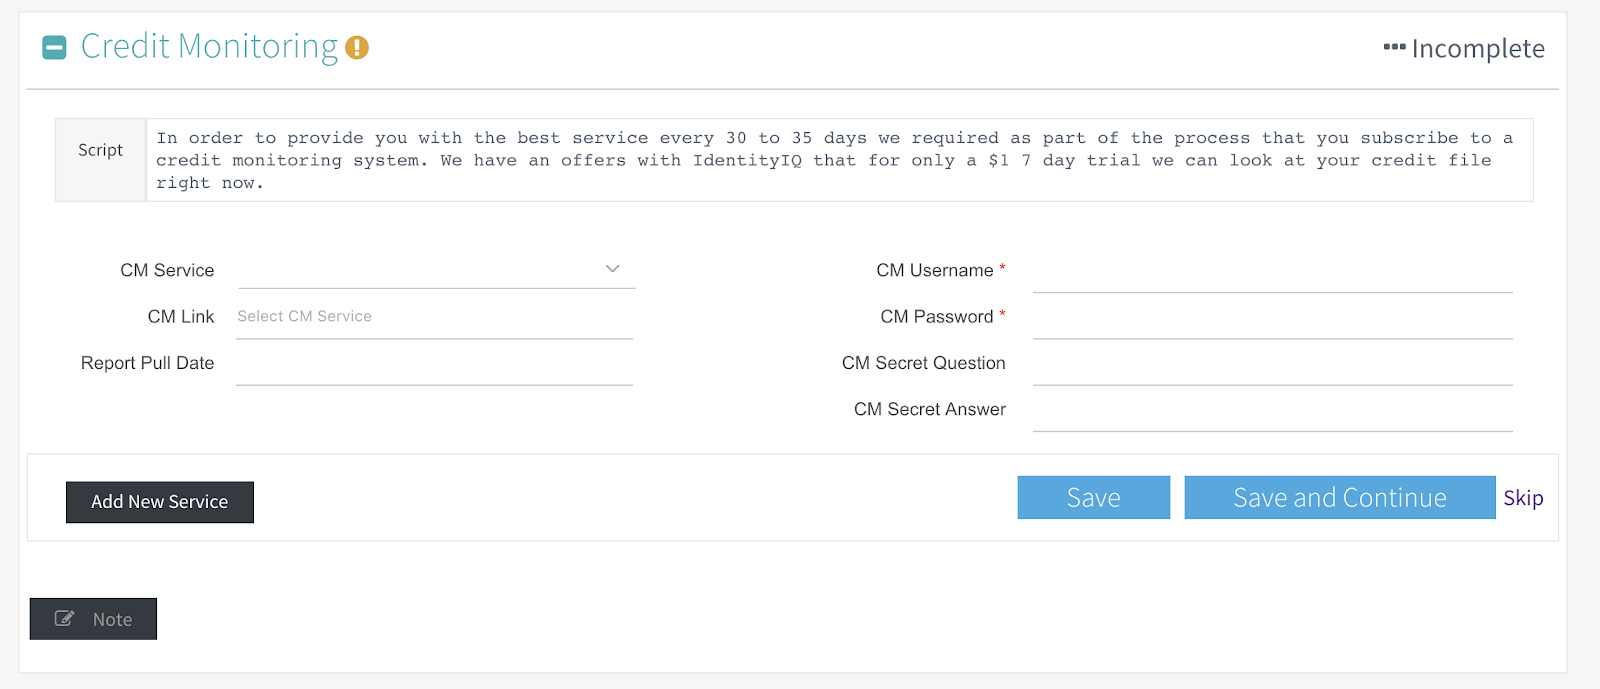
a) Select the Credit Monitoring Service that your lead subscribed (The system automatically will select the Credit Monitoring Link. Credit Monitoring Services and Links can be added/modified under: Configuration>Meta Configuration>Other Configuration>CM Services)
b) Enter the Credit Monitoring Username
c) Enter the Credit Monitoring Password
d) Enter the Credit Monitoring Secret Question (if available)
e) Enter the Credit Monitoring Secret Answer (if available)
f) Enter the Credit Monitoring Pull Date
g) Click Save and Continue to go to the next step
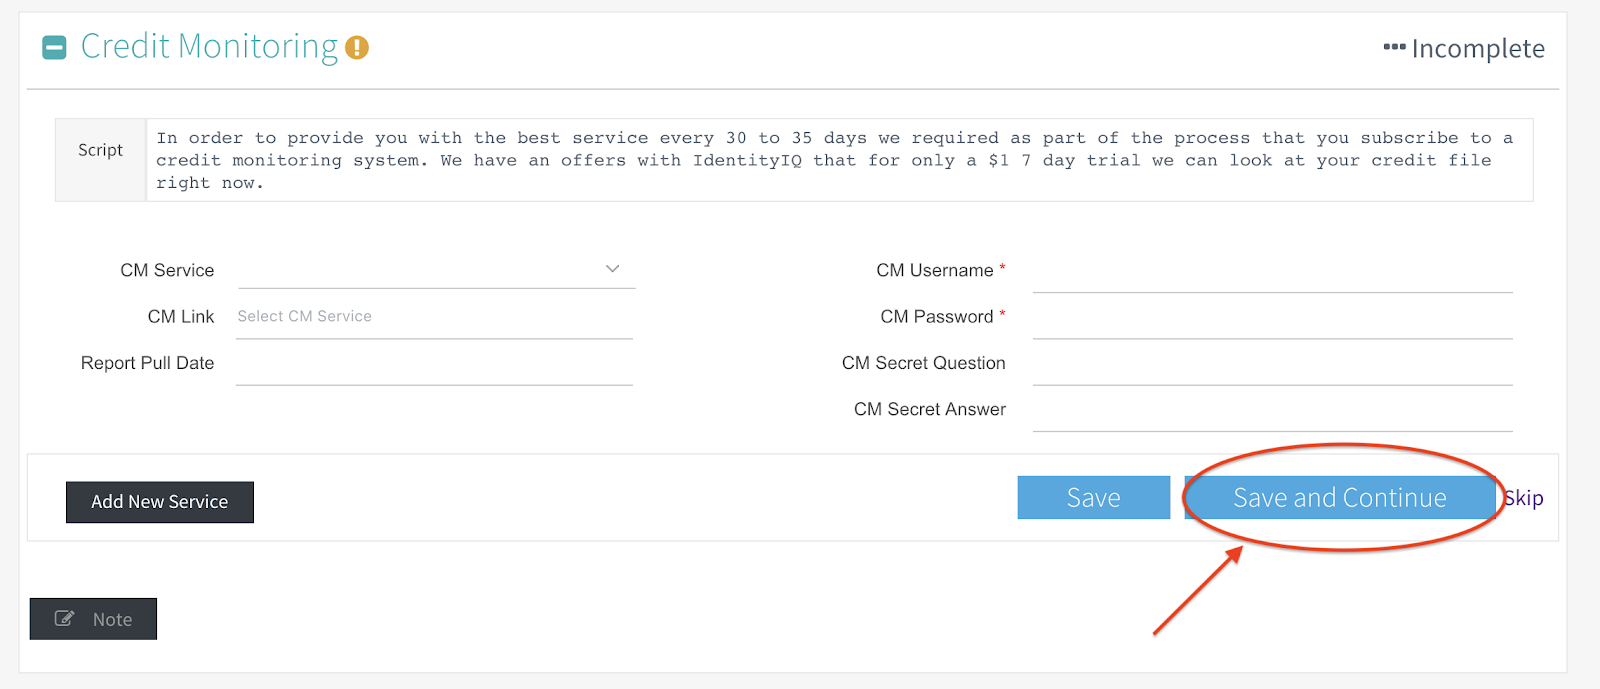
Once you click on Save and Continue the step will be marked as Completed (see image below)

The Next Step in the Workflow is Billing Data Review. You should explain to your lead the services options that your provide and select the option the lead wishes to subscribe to (*This step will not charge the customer. You can not charge customers until services are rendered. In this step you will be on the Audit/Consult step of the Onboarding process for credit repair. Until you don’t render the Audit/Consult services you shouldn’t charge for them)
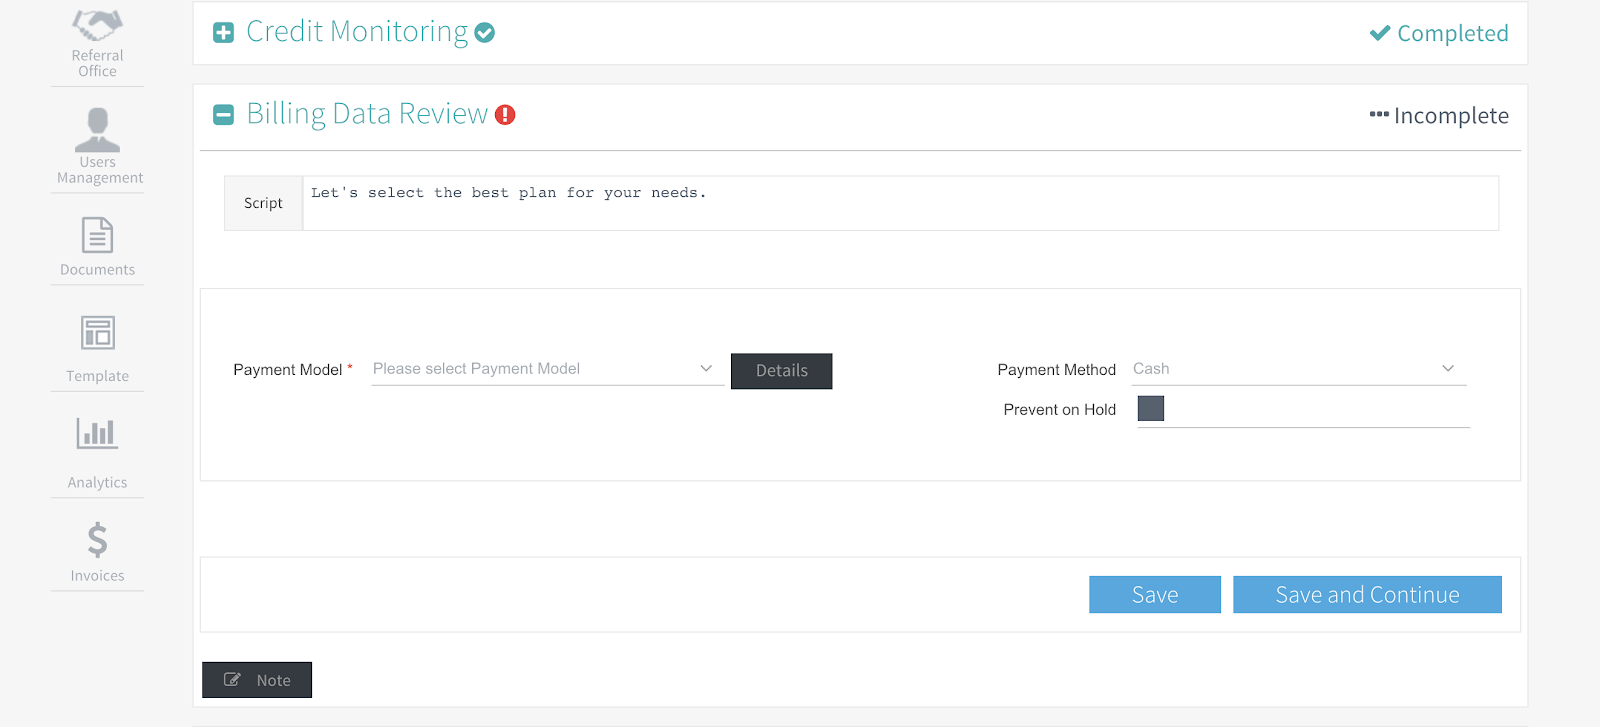
Steps inside of Billing Data Review:
Select the Payment Model (Once selected the system will open the Next Billing Date Option Automatically, selecting the date on the next 30 days)
Select the Payment Method (When you select Credit Card, the system will open the option to add your lead Credit Card Information *This will not charge your customer Credit Card)
Optional: Prevent Hold Option - This selection will prevent files to be automatically set to Hold when a payment fails.
Click on Save and Continue
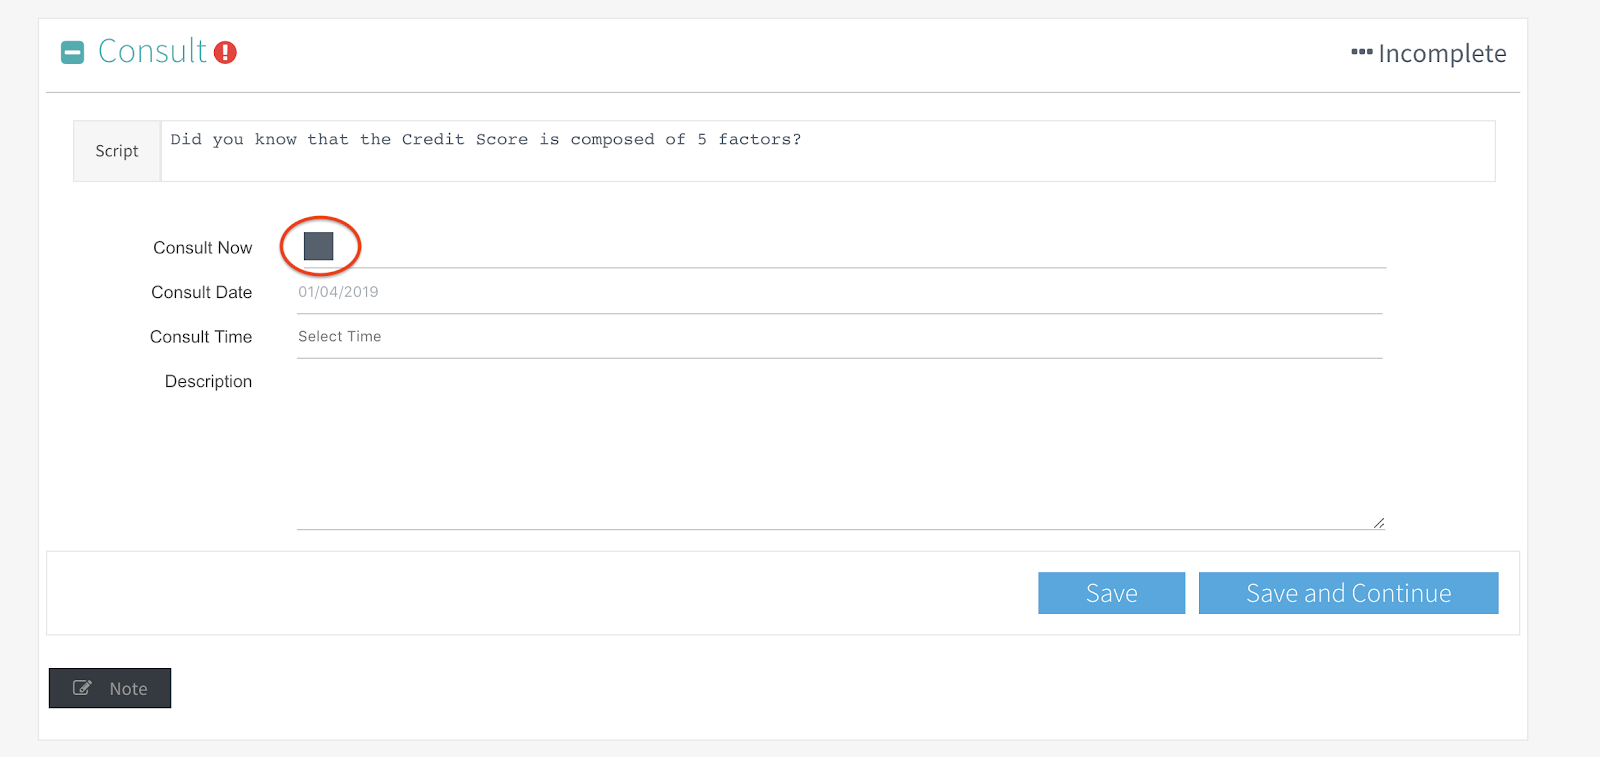
The Next Step in the Workflow is the Consult.
When you select Consult Now the system automatically will add the Date and Time. Your can also add the Date and Time Manually if you forgot to click on Consult Now
Description Area is great to leave notes about details that you should keep about your Audit/Consult with your lead
Next Step: Contract Signature
The system will automatically select the Credit Repair Contract saved in the system. *You can update the credit repair contract template under Configuration>Electronic Document Templates. You can also update the Description of Services for your Pay-Per-Delete, Monthly or Hybrid Plan options under Configuration>Description of Service
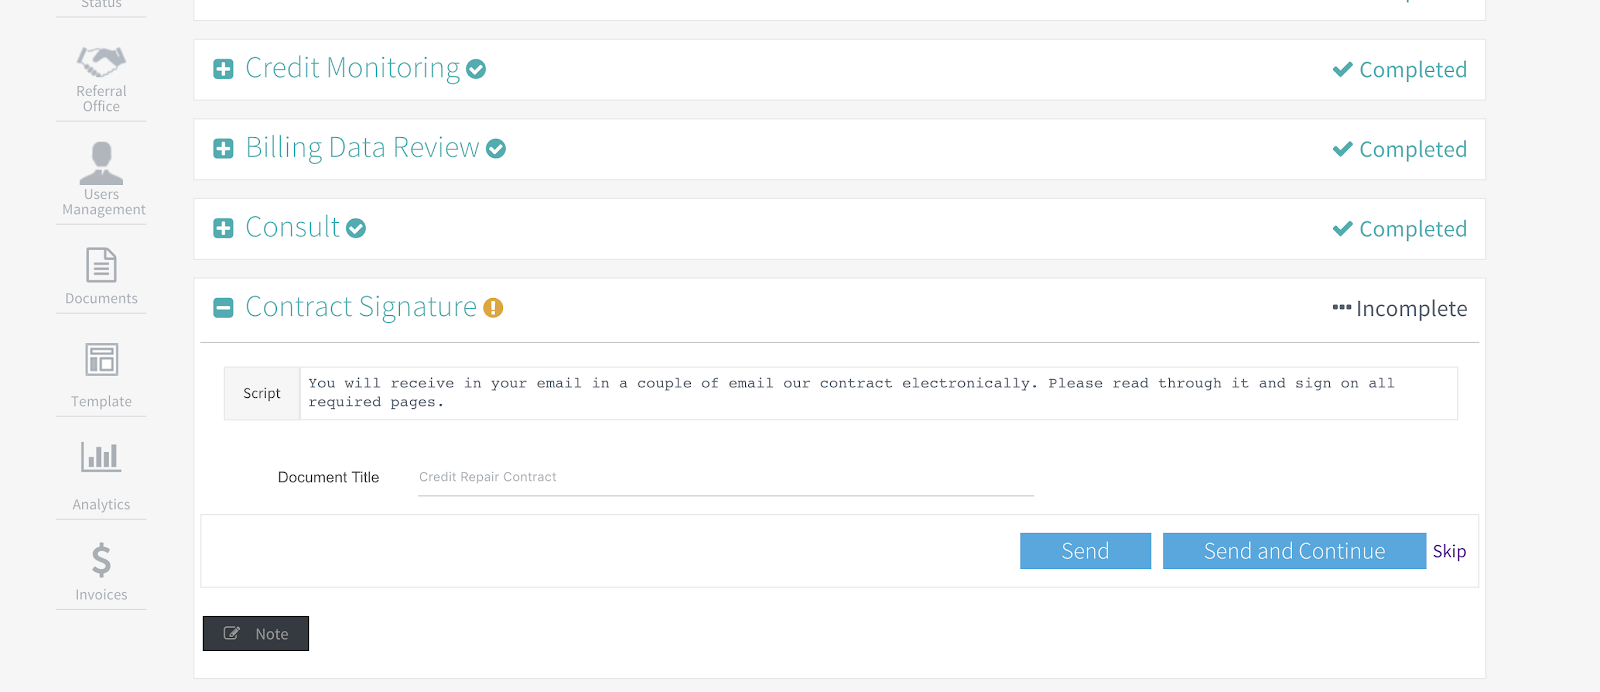
Once you click on Send and Continue, ScoreCEO will show:
Sent Date
Status (Contract Status: Created, Viewed, or Signed
Signed Date
Once contract is signed by both parties (you and your customer) the Contract Signature Step will show as Completed

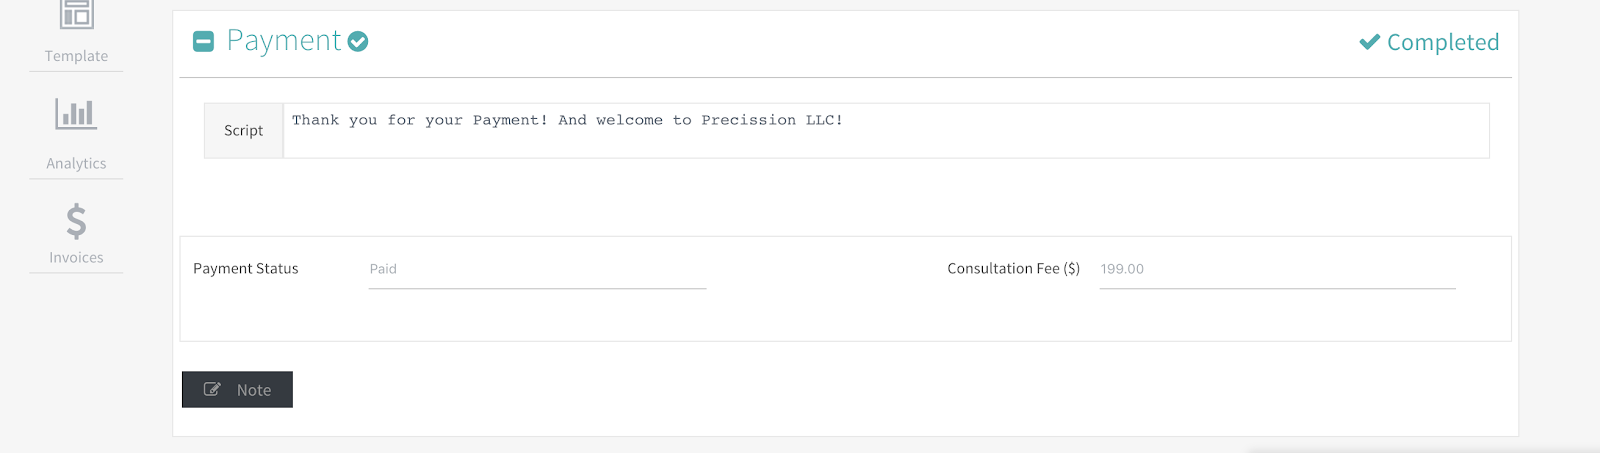
Final WorkFlow step is Payment *Remember: You can’t charge for services not rendered*

In this step ScoreCEO will show payment status for Consult/Audit Fee.
Once you click on Confirm Payment, if their payment is via Credit Card, Authorize.net will run the transaction and the payment status will show as Paid.
Under the 1st Step the Lead Status will change to Paid Consult and the Billing Status will change to Good (see image for reference)
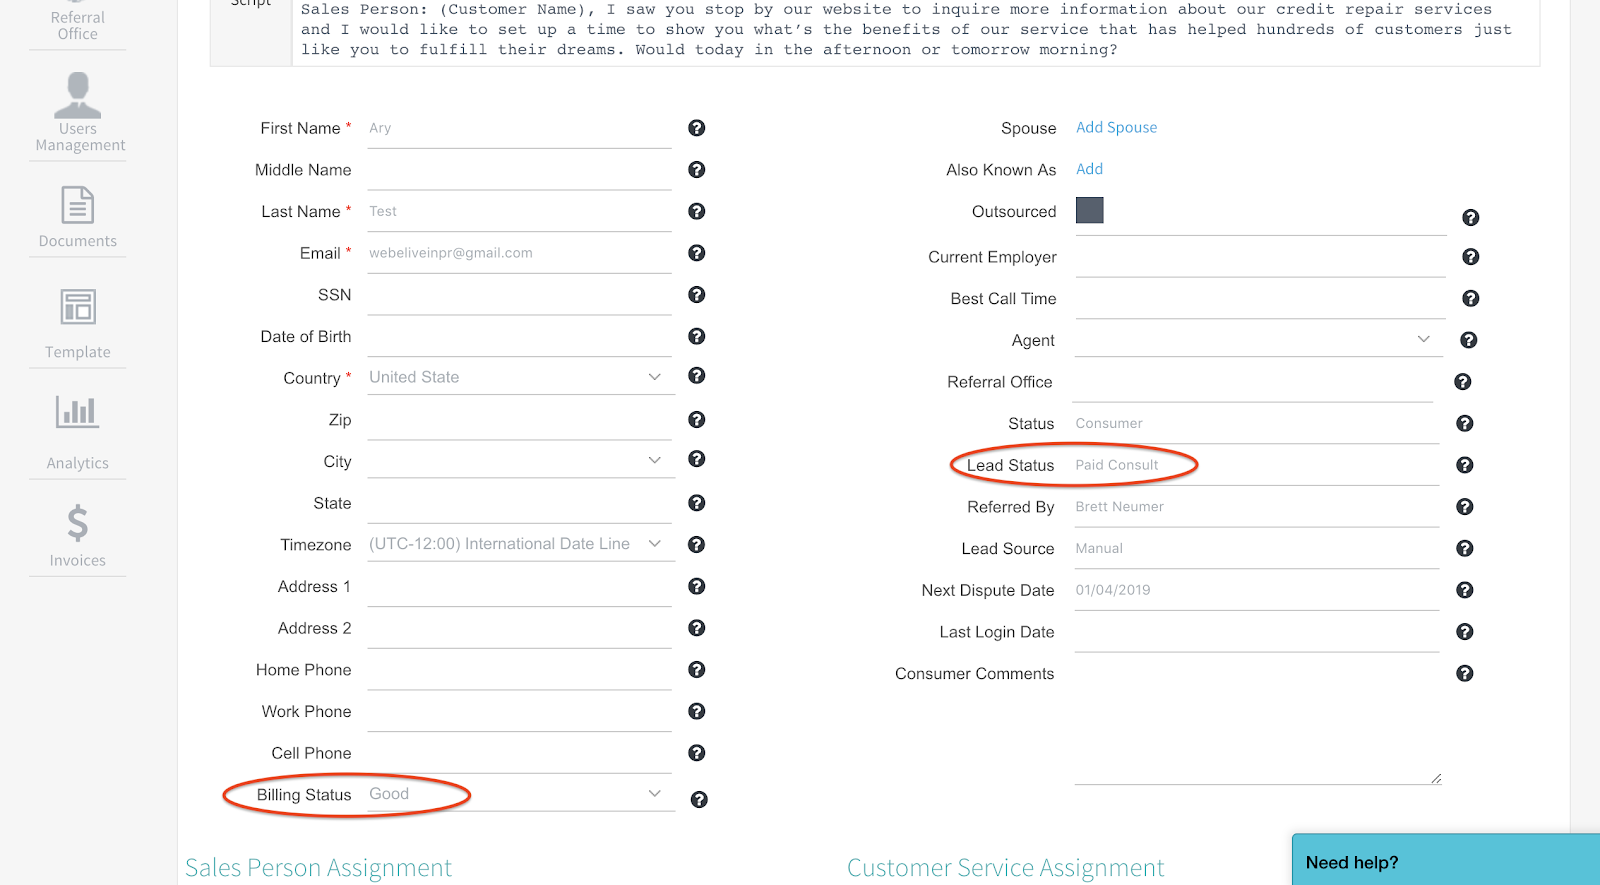
12) Optional Step
When you outsource your files to Score, and we have enabled Outsourcing on our ScoreCEO backend you will see the Outsourced box option (as shown in the image below) If the file is ready to process, check the Outsourced Box and our processing department will take care of the rest. For more information about outsourcing visit: www.scoreinc.com